Video Doorbell
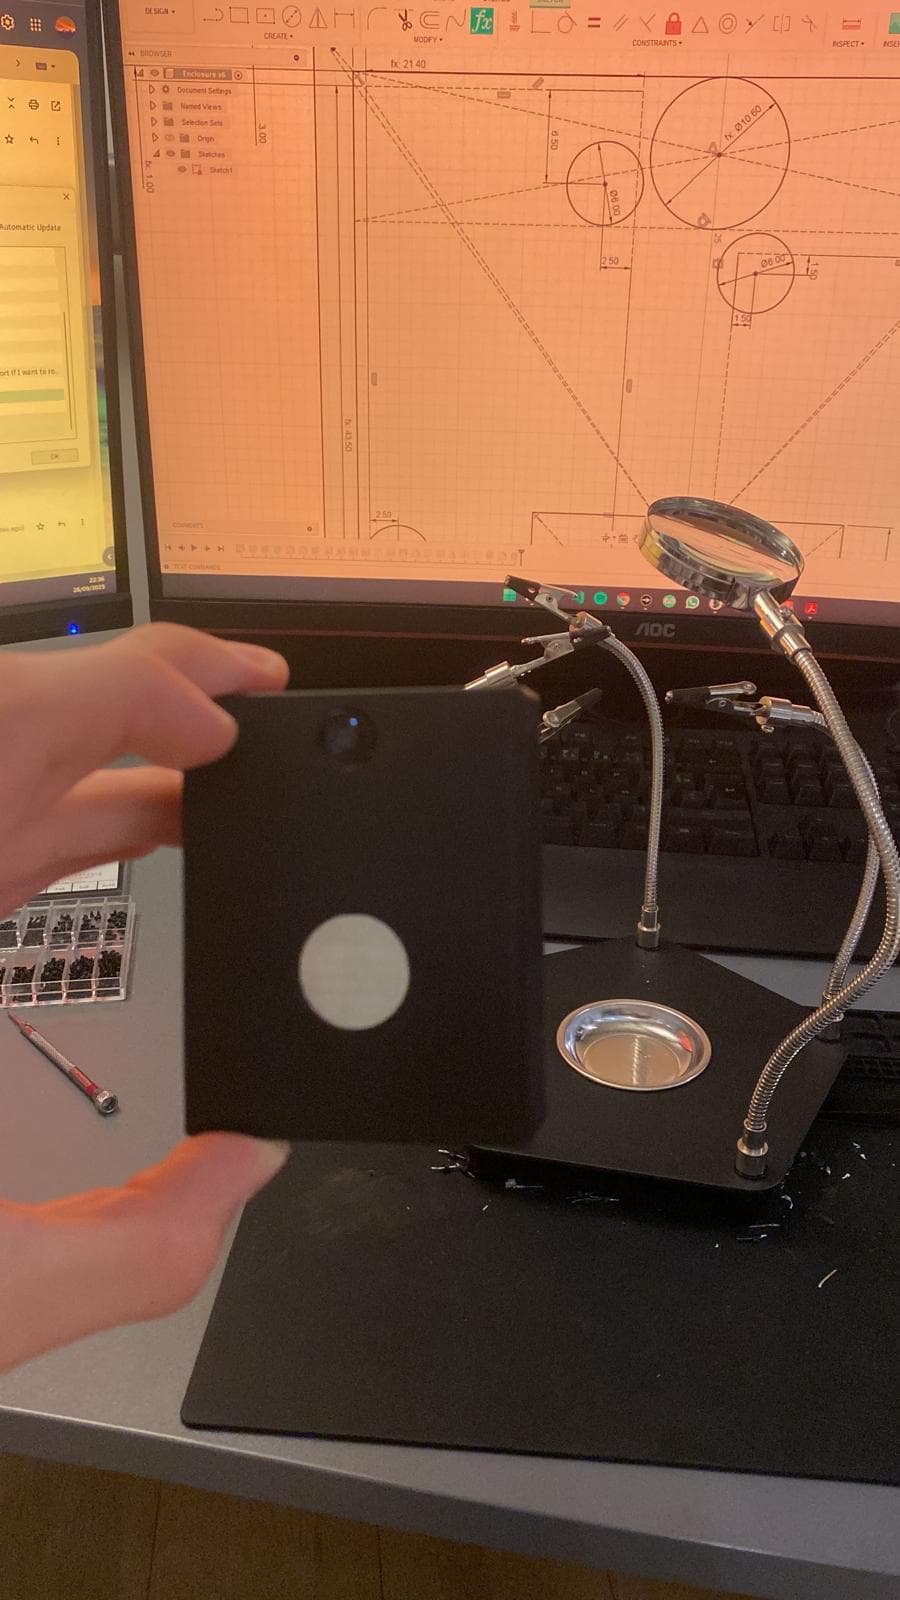
I wanted to build my own video doorbell using an ESP32-CAM. It has a camera, a microphone and a capacitive touch button, all inside an enclosure I designed and 3D printed myself. I also connected it to Home Assistant using ESPHome.
This was a small project, but it brought together a few things I like working on: electronics, programming and making something that fits together physically.
Power and the touch button
I wanted to use the existing 24 V AC doorbell wiring. The ESP32 needs DC power, so I used a bridge rectifier to convert the AC to DC, followed by a step-down converter to supply the electronics.
Instead of a mechanical button, I used a metal plate as a capacitive touch button. The ESP32 detects the change in capacitance when someone touches it. The camera sits above the button, with the electronics behind the front panel.
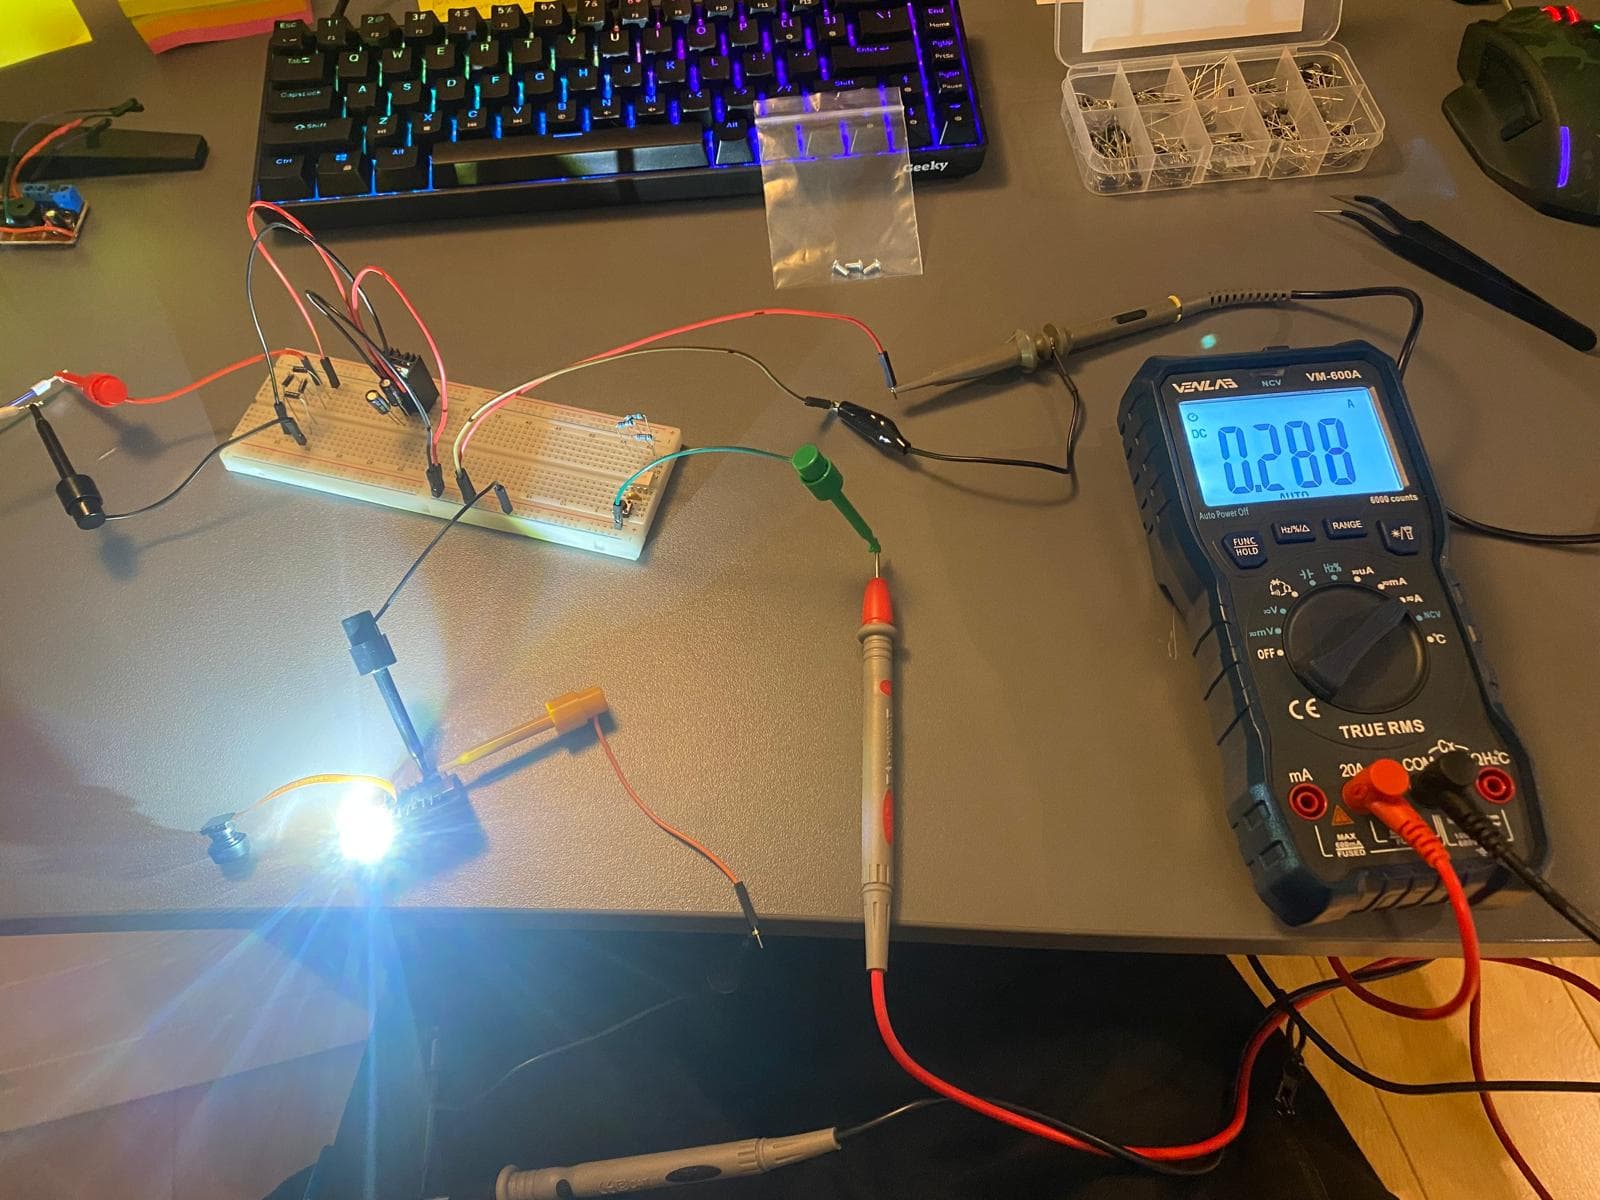
Electronic components
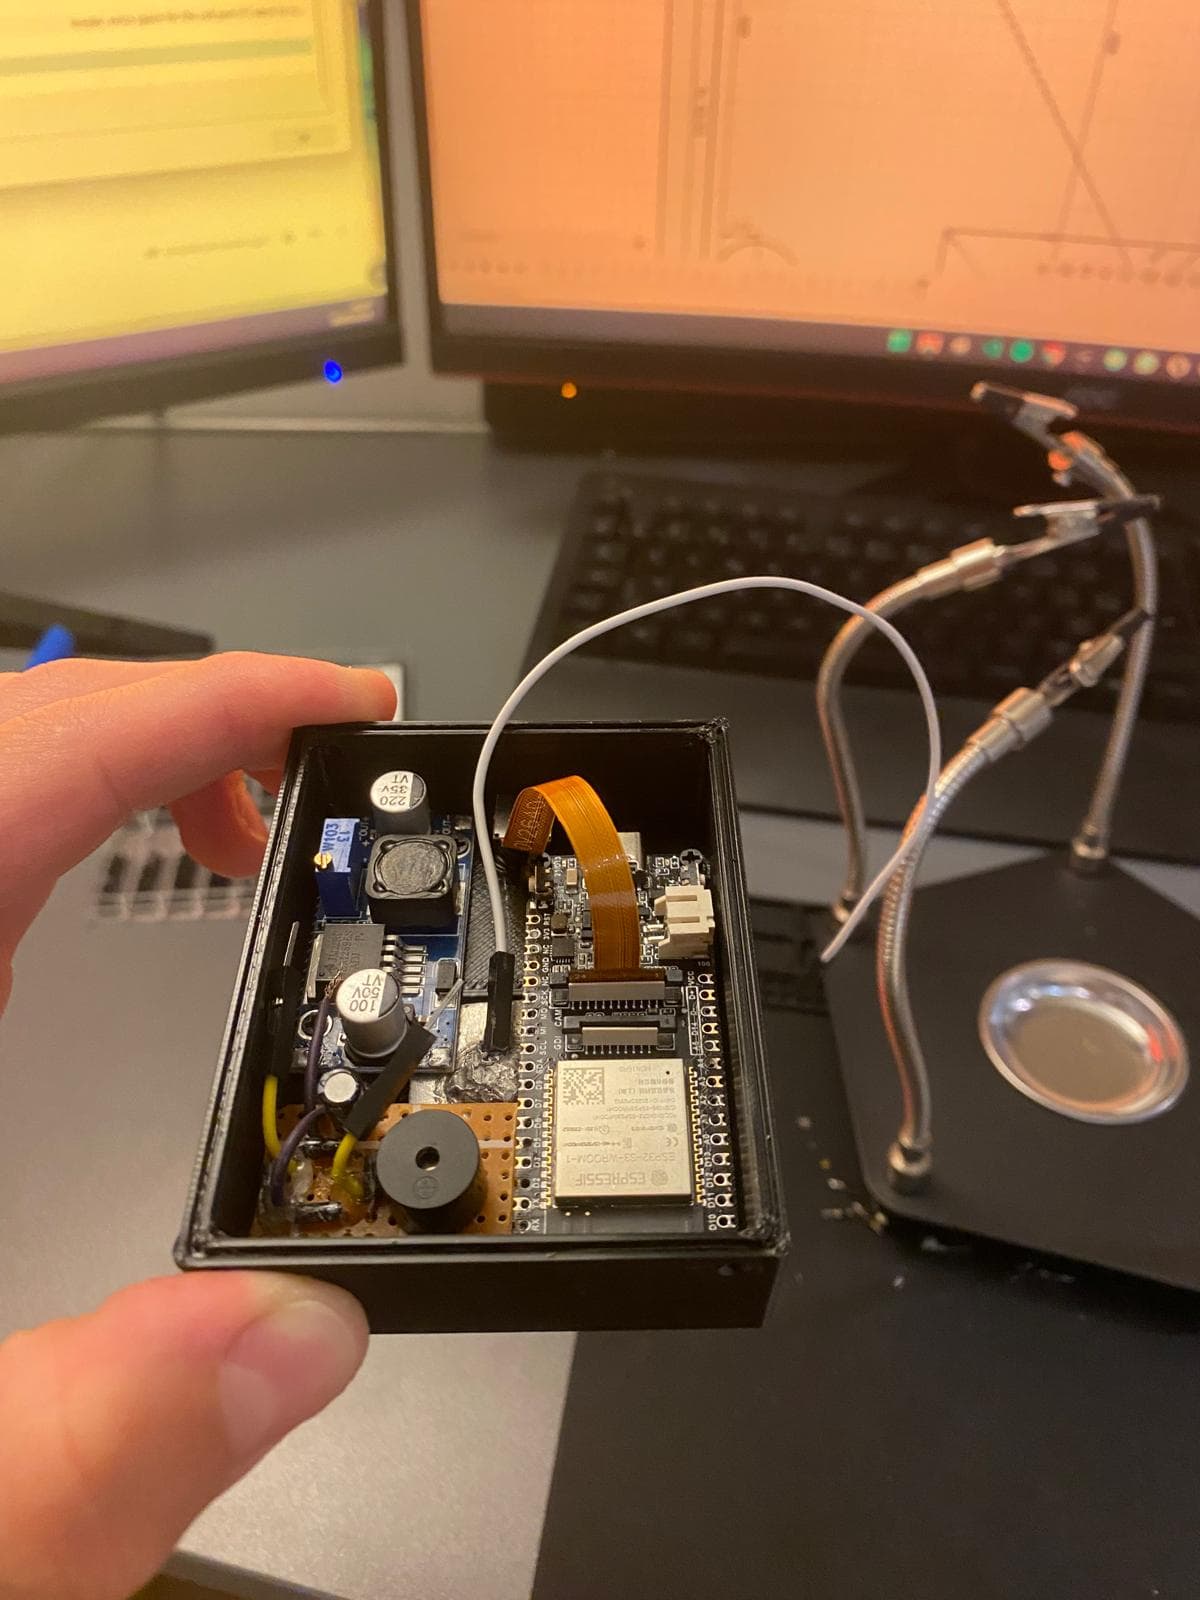
Inside view of the doorbell
Making the enclosure
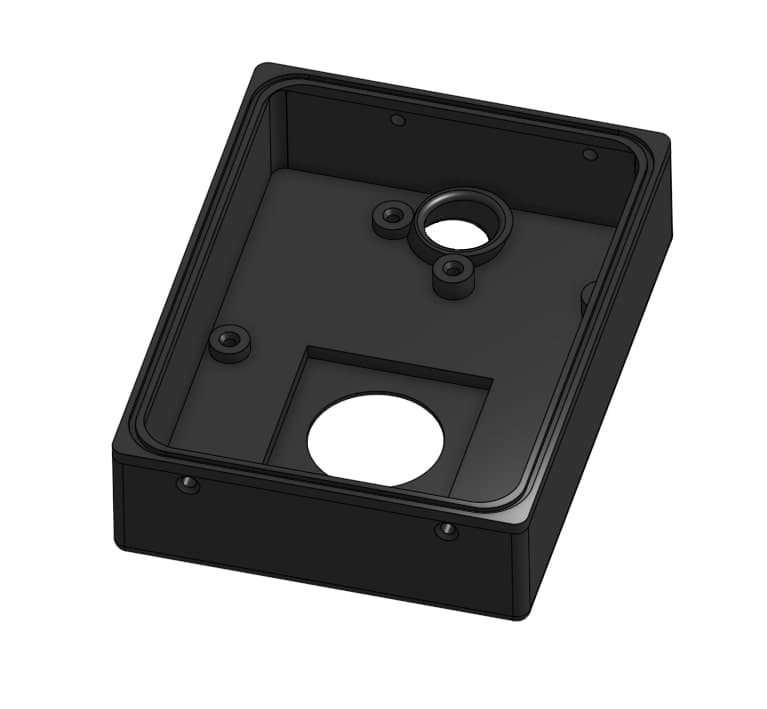
I designed the enclosure around the camera, touch button and circuit, then 3D printed it. I had to leave enough space for the wiring while keeping the whole thing small enough to work as a doorbell.
I also had to take water ingress into account. I added a groove around the enclosure where I could put a rubber gasket to help keep water from getting through the joint.
Connecting it to Home Assistant
I used ESPHome to configure the ESP32 and connect it to Home Assistant over Wi-Fi. This brings the doorbell into the same system as other home devices, instead of having a separate app just for the doorbell.